
Custom Vinyl Grids
Custom Vinyl Grids
Hey hey fellow artists! Are you looking for help making custom vinyl grids?! Well, you’re in luck! I made this tutorial to show how easy and fun it can be. If you have any questions, send us a shoutout on social media. We would be happy to help!
Materials Needed:
- Grid panels with the plastic covering
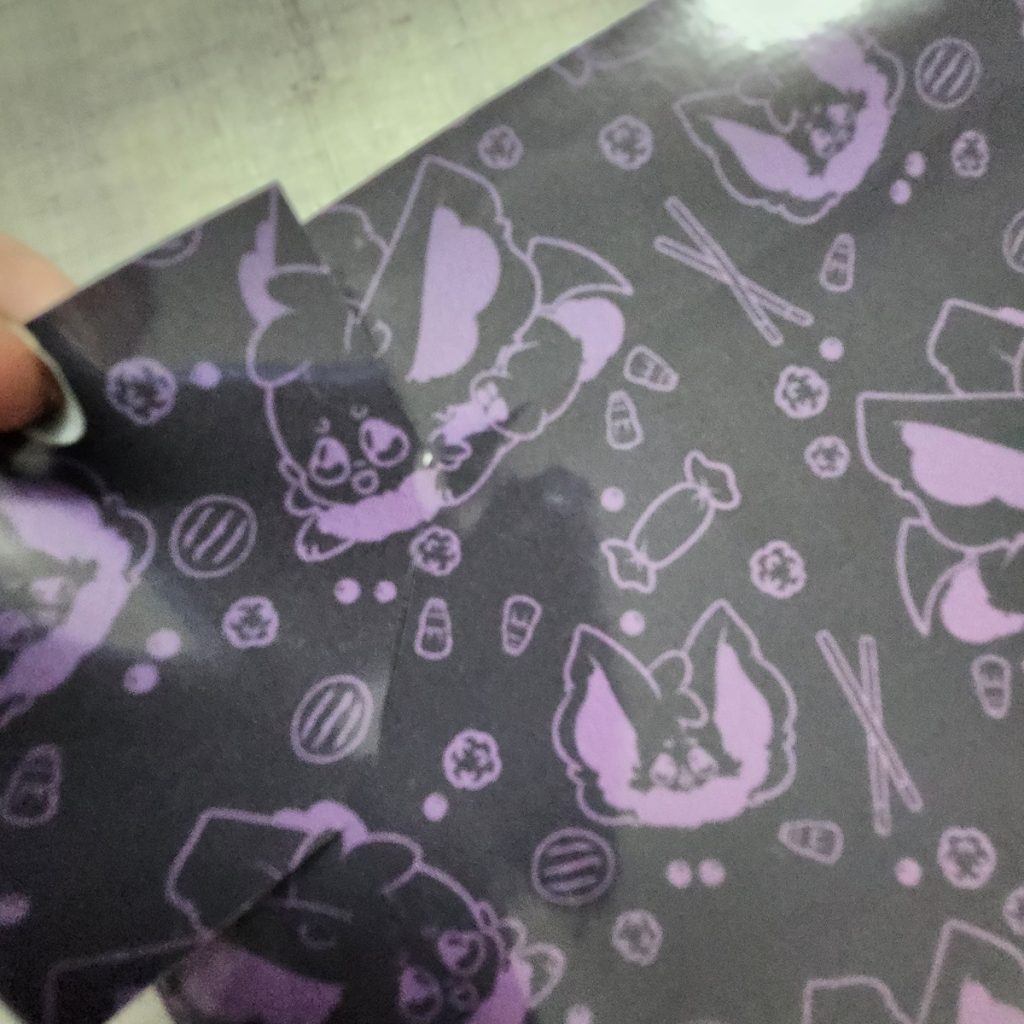
- Vinyl (aka sticker material, but fabric would also work)
- Boxcutter
- Squeegee
- Isopropyl alcohol
- Cleaning cloth
- Double-sided tape (optional)
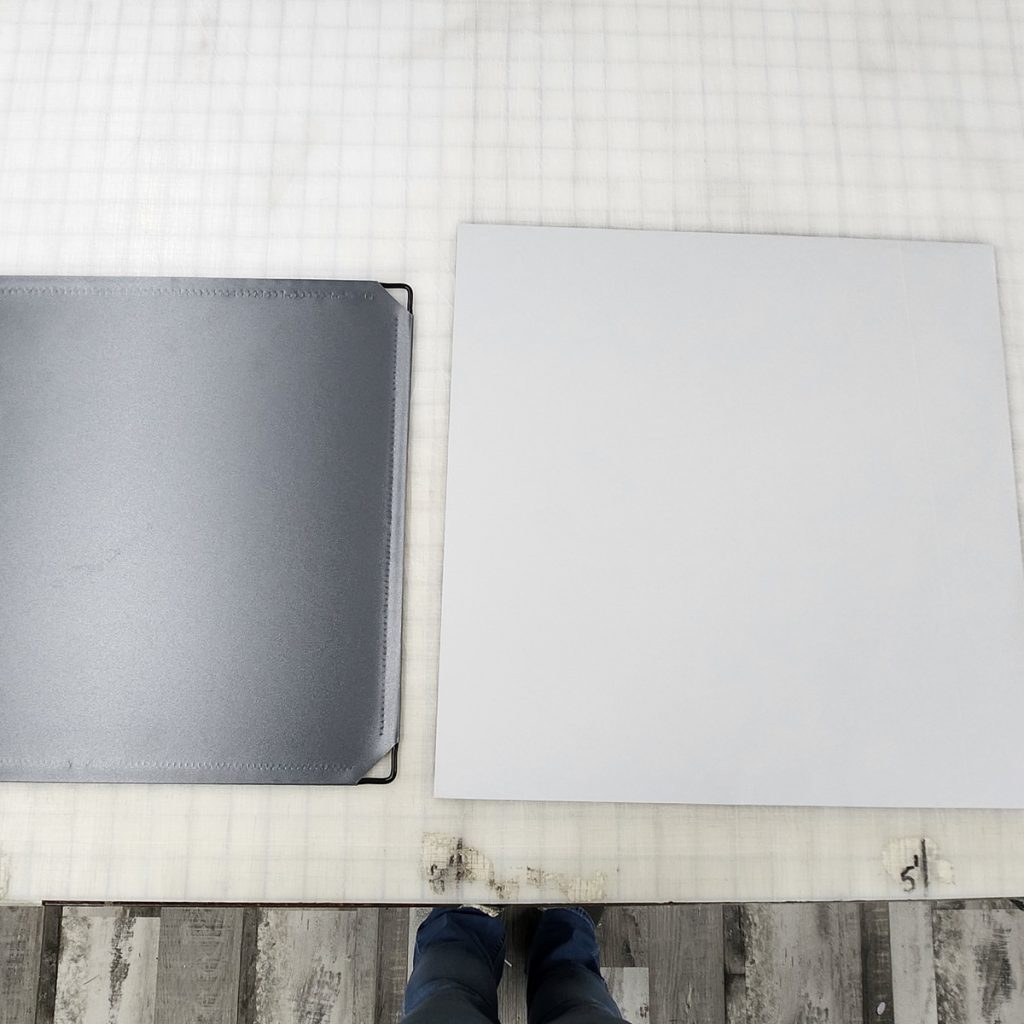
Step 1: Clean the panel. Isopropyl alcohol is my go-to! It gets rid of sticky residue without that greasy aftermath.
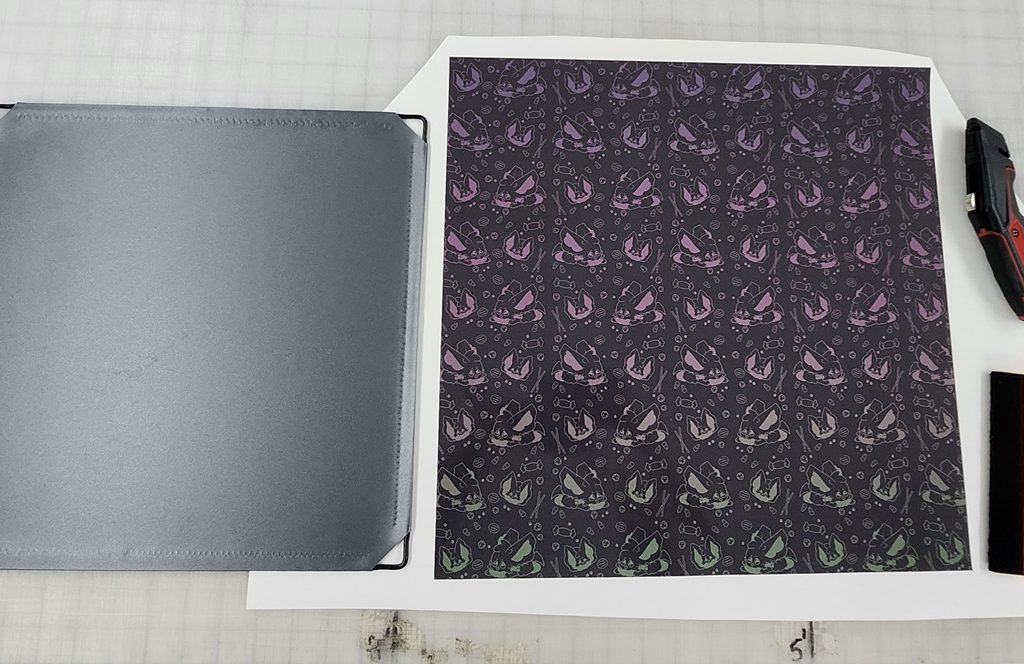
Step 2: Remove the backing from the vinyl and place it design-side down.
Step 3: Slowly lay the panel onto the vinyl. The side you place down should be the side you want covered.
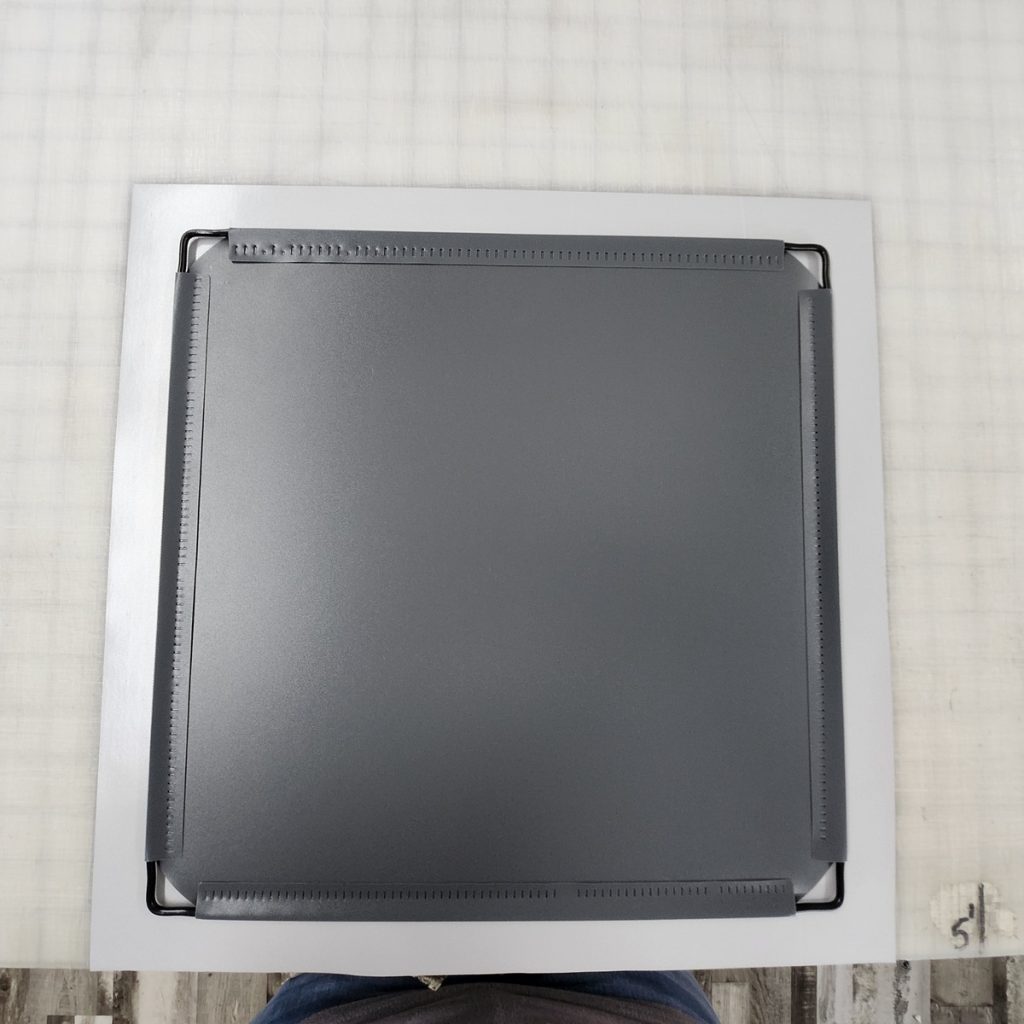
Step 4: Use the hard edge of the squeegee to flat the panel onto the vinyl. You’ll want to do this edge to edge, in the same direction every time. This is the ensure you get those air bubbles out!
Oops! Missing photo~
Step 5: Flip the panel and vinyl over. Take the soft side of the squeegee and go over the panel again. Same direction as before, again, to ensure you get those air bubbles out! You should hear a lot of “popping” noises. That means the air is coming out and the vinyl will be flush with the panel. Pay close attention to the edges. This is where air likes to sit.
Oops! Missing photo~
Step 6: Flip the panel back over so the vinyl is facing down. You’ll want to take your boxcutter and make score marks at the corners.
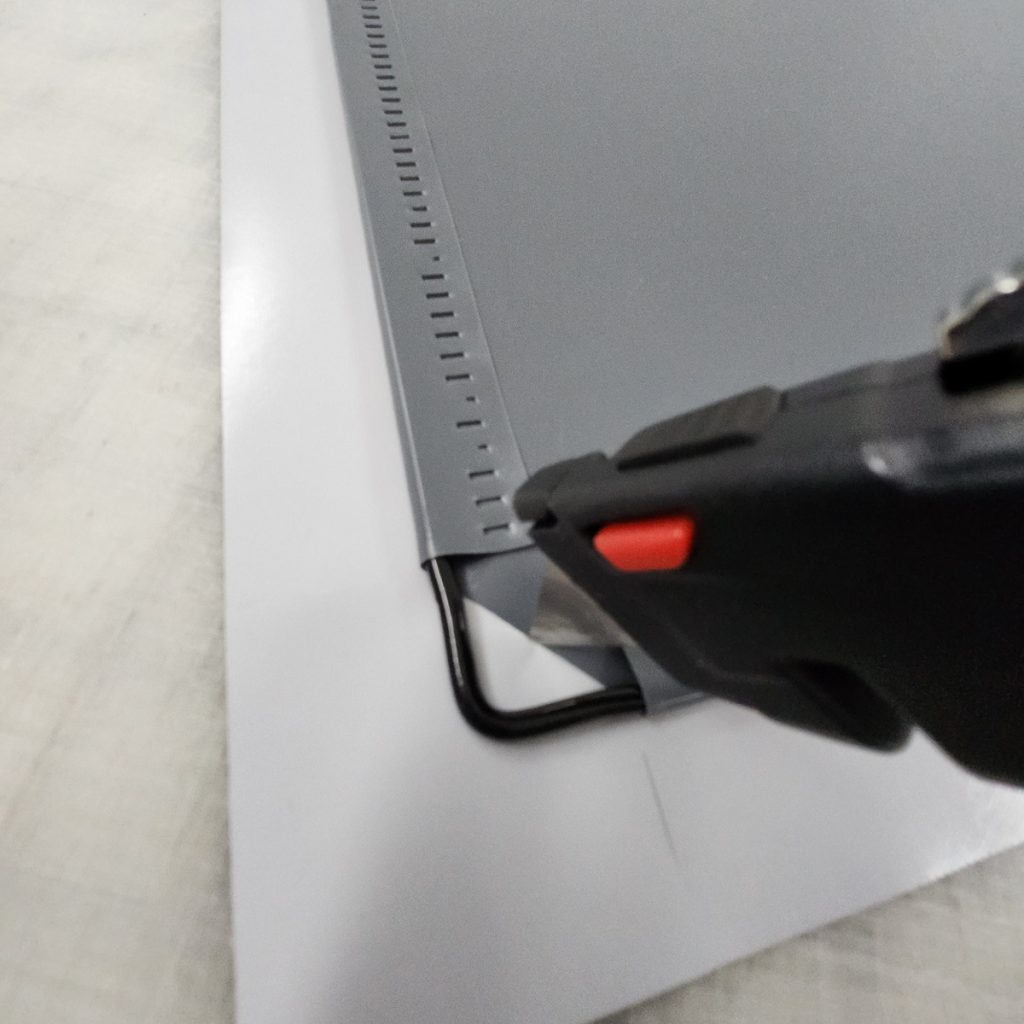
Step 7: Once you’ve scored all 4 corners, flip the panel back over. Find your score marks and finish the cuts to remove the vinyl.
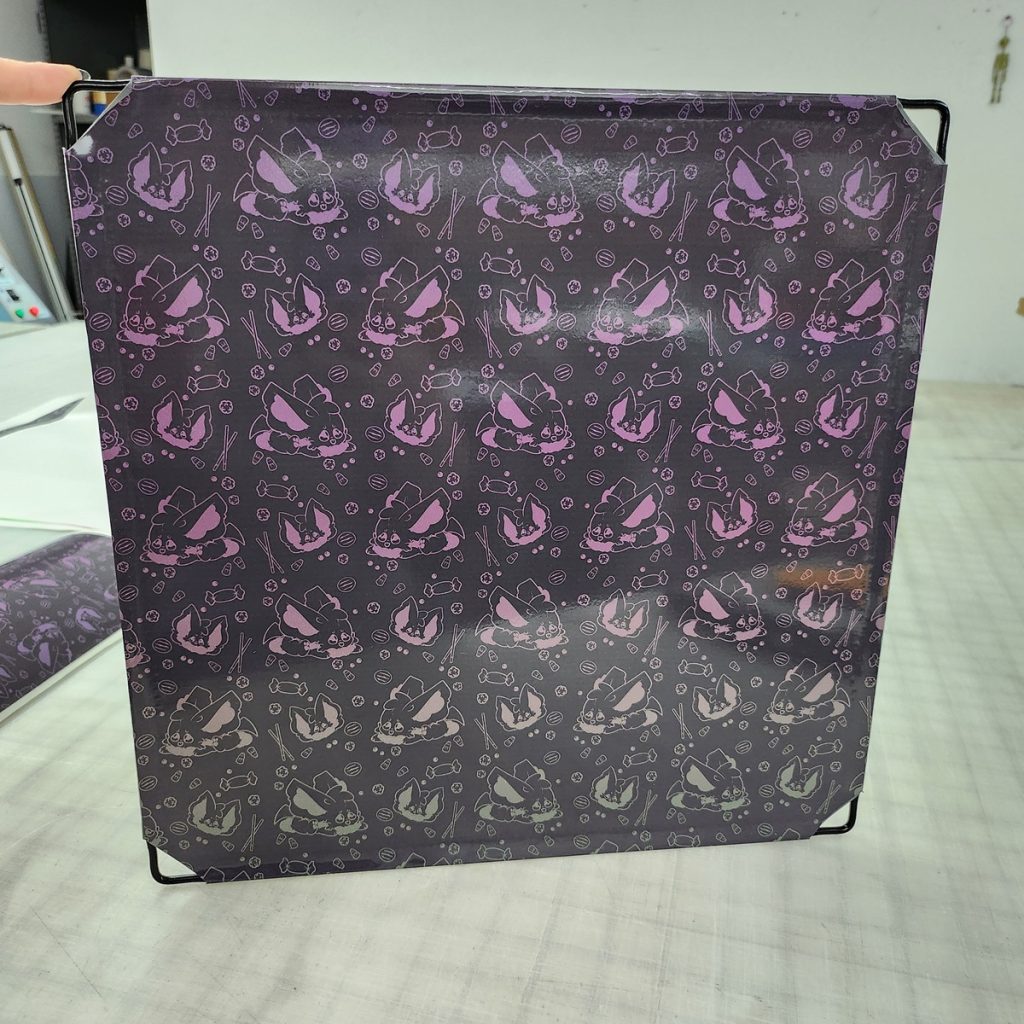
Step 8: Once you have all 4 corners cut. Flip the panel back onto the vinyl. You should have 4 sides with extra material hanging off. Take each side, pull tight, and wrap around to the back side of the panel.

Step 9: Use your handy dandy squeegee to ensure the vinyl is flush on the panel on the front, side, and back.
And there you have it! It is recommended you take double-sided tape and add to the flaps on the back. The first time I did this, the vinyl stuck to each other and pulled. The double-sided tape will ensure the flaps don’t come up.
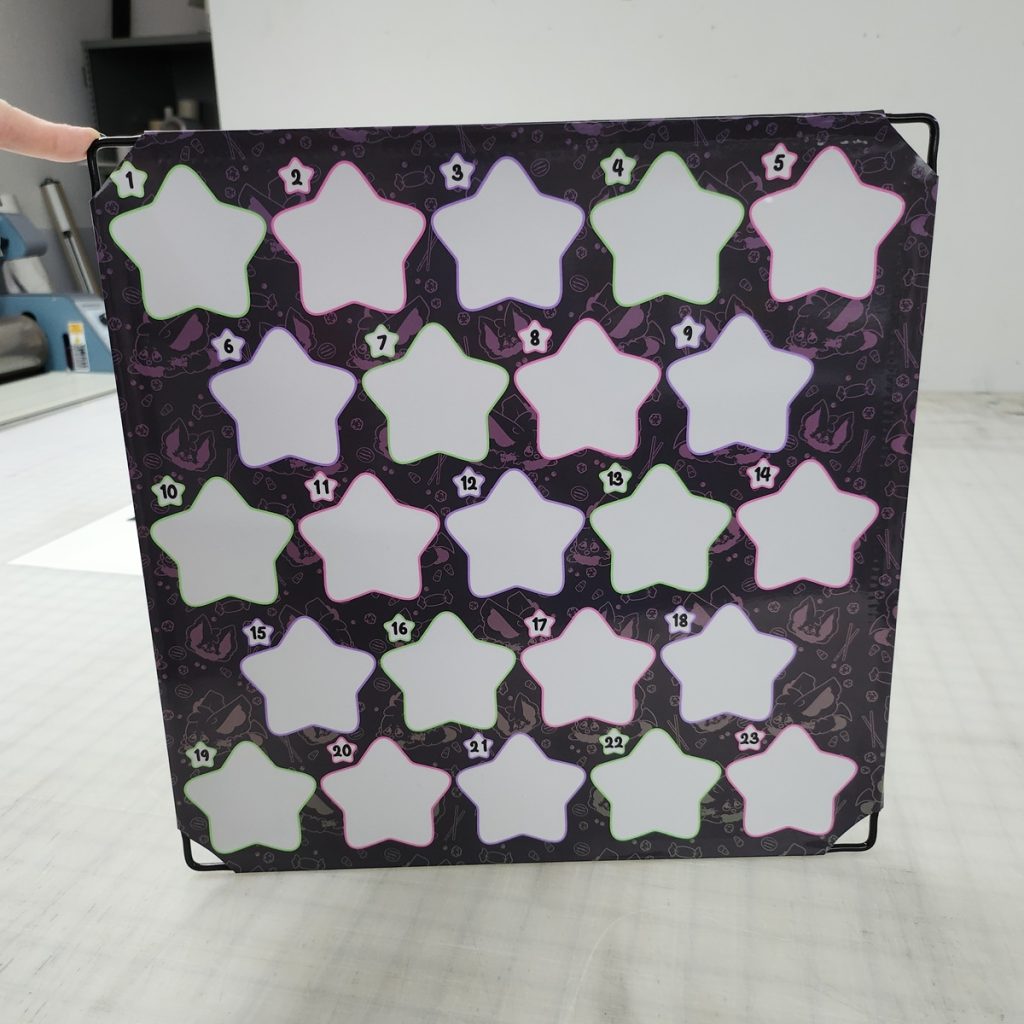
Now you can get creative and make charm boards, pin boards, sticker boards, or anything else you can think of!
Extra info:
Where to get vinyl? Any local sign shop should be able to print you off sticker material! If not, there are plenty of online places. If you don’t want anything custom printed, check out your local hobby shop and get sticky vinyl. We can also print for you. Send us a message for a quote. 🙂
**If you want to use fabric, I highly recommend folding the corners instead of cutting. This would prevent the fabric from fraying. Or, if you’re handy with a sewing machine, hem the edges! Use the double-sided tape on the flaps to fold it in place.
Sizing: To get the flaps, I recommend extending your panel size by 2in all around. This would give you 1in flaps on each side. eg: 10in grid would need 12in vinyl. 14in grid would need 16in vinyl.
If you found this little tutorial helpful, leave us a shoutout on social media! We would love to see what you came up with! <3